Setting up a Development Environment

In this post, we will cover setting up a complete environment for developing on the TON Ecosystem. These tools will be discussed:
- TON binaries (
lite-client,tonlib,func,fift,...) - toncli
- ton-contract-executor
- tonstarter-contracts
- MyLocalTON
TON Binaries
NOTE: Completing this step is essential for developing on TON blockchain.
For developing on and interacting with TON Blockchain, you'll need to have the needed binaries for compilers, clients, nodes, ... . There are two options to get them:
- Compiling from the source code
- Getting binaries from Auto Builds
We'll need to proceed with the former option because Auto Builds aren't available for our target branch. Also, the official TON Binaries can be downloaded from ton repositories Auto Builds. But we will use a fork of TON which provides testing capabilities that are later needed. To build follow these steps:
- Install the latest versions of:
makecmake >= 3.0.2g++orclang(or another C++ 14 compatible compiler)- OpenSSL (with C Headers) >= 1.1.1
- Clone SpyChesses's TON and switch to
toncli-localbranch:
git clone https://github.com/SpyCheese/ton
git checkout toncli-local
- Create a build directory in an arbitrary place, we will refer to it as
<ton-build>. Also let's assume you havetoncloned in<ton-rep>, in a terminal:
cd <ton-build>
cmake <ton-rep>
- Build each target:
cmake --build . --target lite-client
cmake --build . --target func
cmake --build . --target fift
- Those steps will take some time, wait until they're finished. Binaries will be available in:
fift: <ton-build>/crypto/fift
func: <ton-build>/crypto/func
lite-client: <ton-build>/lite-client/lite-client
You can copy them to a special directory and add them to your PATH.
6. TON Binaries are built and ready!
toncli
toncli is a cross-platform cli for TON, that makes smart contracts manipulation
and interaction with blockchain much easier.
We will use a fork of toncli which comes with a new testing framework and thus needs forked TON binaries.
To install you must follow these steps:
- Make sure to complete
TON BinariesSection. - Install python(
>=3.9) from the official website on your system.
Note 1: Don't use the Microsoft store version if you're on windows.
Note 2: Make sure you add python to the
PATH(On windows simply tick theAdd Python 3.xx to PATHoption)
- Install
toncliusing this command:
git clone https://github.com/AminRezaei0x443/toncli
cd toncli
git checkout dev
python setup.py develop
Note: If you see
WARNING: The script toncli is installed in '.../Python/3.X/bin' which is not on PATH.add the mentioned address to yourPATHenvironment variable.
- Go to the folder of TON binaries, and open a terminal in that folder. Then, run
tonclicommand in the terminal. You should see that it automatically detects the binaries and sets them up. If for any reason it can't find the binaries, just provide the abstract path of binaries as it asks. Upon a successful detection you'll see an output like:
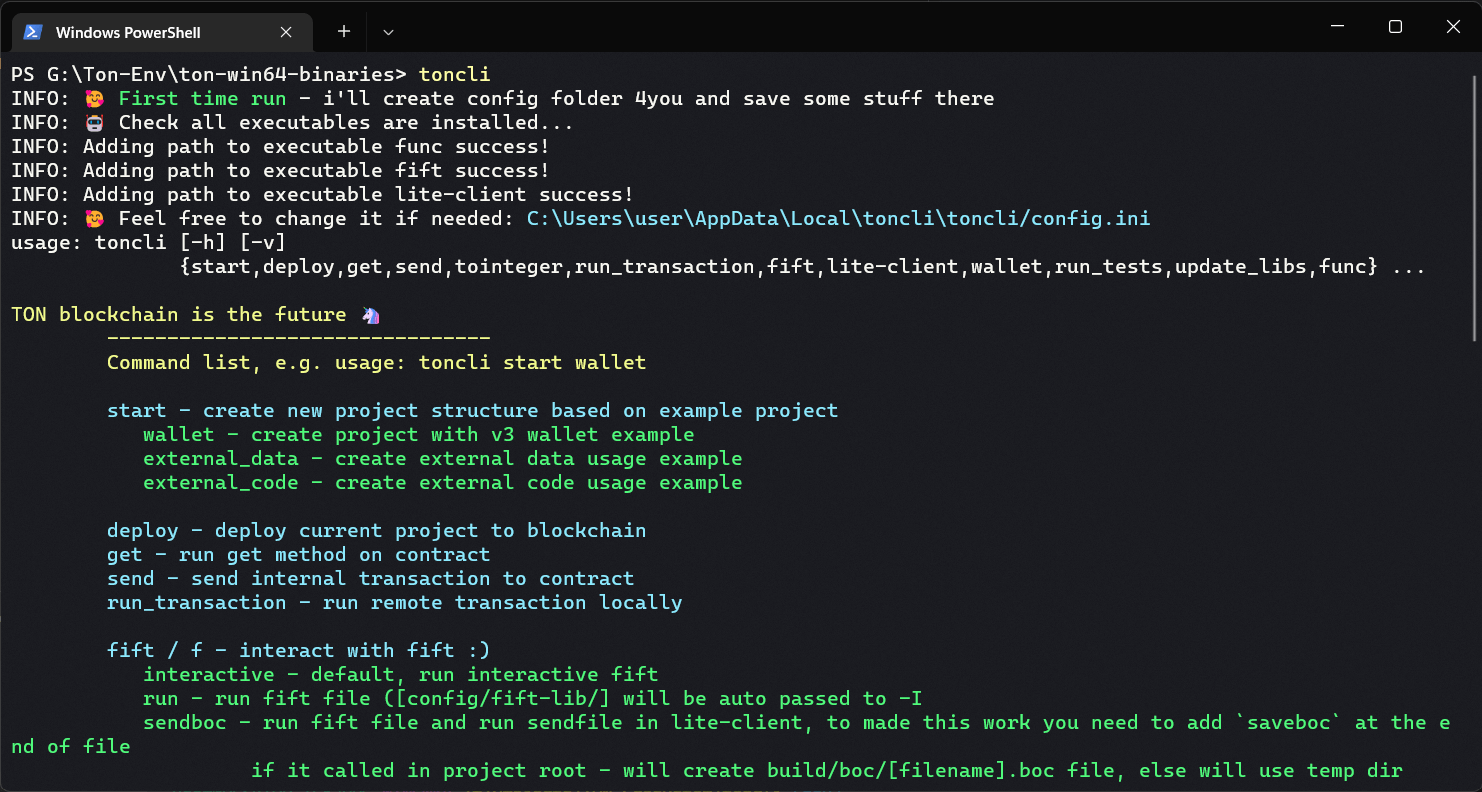
As you see, toncli comes with several commands that help the development and interaction of smart contracts. The commands are well documented but we'll go through their usage here.
Setting up a project
To set up a project we can use start command to create a new project from an example project. Currently it has 4
options: wallet, external_data, external_code, and simple_storage. We will proceed with the simple_storage
option:
toncli start simple_storage
You can see how the contract is implemented in simple_storage/func/ and how the tests are implemented
in simple_storage/tests/.
Project yaml file
The project.yaml file contains the project's structure and metadata. You can specify the contract with its data
cell/fift files, func contracts, and tests there so toncli detects and uses them.
Testing contracts
Testing is essential during contract development to be sure about the contract's safety and to prevent unexpected behaviors. To run the tests:
toncli run_tests
This runs all the tests for the contracts specified in the project.yaml file.

You can test one special contract by passing -c parameter.
toncli run_tests -c contract
Deploying contracts
You can deploy contracts to mainnet or testnet easily by using the command:
toncli deploy -n testnet -wc 0
It will create a wallet for you if not present and will request you to send some TONs to it, so the contract deployment fee is covered.
For a more detailed description, you can check toncli's docs.
ton-contract-executor
Note: This library depends on
ton-compilerwhich supports onlymacOS, at the time this article was written. So if you're not a macOS user you won't be able to use this library until the support is added.
ton-contract-executor allows you to run TVM locally and execute contracts, which eases writing, debugging, and fully
testing your contracts before launching them to the network.
To set up, you'll need to:
- Install
Node.js - Install
yarnpackage manager:
npm install --global yarn
- Create a directory representing your project's root, and initialize it:
yarn init
- Install
ton-contract-executorandton:
yarn add ton-contract-executor
yarn add ton
- Create file
contract.jswith content:
   let {SmartContract} = require("ton-contract-executor");
   let { Cell } = require("ton");

   async function main() {
      const source = `
      () main() {
         ;; noop
      }

      int sum(int a, int b) method_id {
         return a + b;
      }
   `

      let contract = await SmartContract.fromFuncSource(source, new Cell())

      let res = await contract.invokeGetMethod('sum', [
         // argument a
         { type: 'int', value: '1' },
         // argument b
         { type: 'int', value: '2' },
      ])

      console.log('1 + 2 = ', res.result[0])
   };

   main().then(()=>{});
- After successful execution, you'll see the console log with the correct result.
This was just a basic example, you can develop scripts to read the code from contract files, and execute and test their methods. More examples are available at the main repository.
tonstarter-contracts
This project is a starter template for developing decentralized applications (dApps) on TON. It currently contains the codes for contract development but it will contain frontend and telegram bot templates for interaction with contracts in the future.
To get started:
- Install a modern version of
Node.js. - Make sure you complete
TON Binariesstep and add the binaries to yourPATHenvironment variable. (fiftandfuncmust be detectable) - Clone the repository:
git clone https://github.com/ton-defi-org/tonstarter-contracts
- Install the dependencies:
npm install
- You're all set up!
Writing code
Contracts are present in contracts/, and the behavior of each subfolder and extension in the folder structure is as
follows:
contracts/*.fc: standalone root contractscontracts/imports/*.fc: shared import between contractscontracts/imports/<contract>/*.fc: contract-specific imports - not sharedcontracts/<contract>.tld: optional TL-B Schema for data and message opscontracts/<contract>.ts: optional typescript file that encodes data and message ops
Building Code
In the repository root, run npm run build to build the contracts. If any errors occur they will be displayed,
otherwise the resulting files are:
<contract>.merged.fc- merged and flattened FunC source code with all imports<contract>.fif- compiled contract as Fift assembly file<contract>.cell- the binary code cell of the compiled contract (for deployment)
Testing
You must build the code before proceeding to test. Run the tests using npm run test. The tests are run by TVM
using ton-contract-executor.
Note: As mentioned before, at the time this article was written,
ton-contract-executorruns only on macOS because of its dependency. So, you won't be able to run tests if you're not on macOS
Deploying
First of all, build your contracts. Each contract to deploy should have a script build/<contract>.deploy.ts to return
its init data cell.
The deployment wallet can be configured by the DEPLOYER_MNEMONIC variable in the .env file. You should provide the
24 secret words in the .env like:
DEPLOYER_MNEMONIC="tumble degree cousin sand ..."
Run npm run deploy for deploying on mainnet and npm run deploy:testnet for testnet, then follow the on-screen
instructions.
More details are available at the main repository.
MyLocalTON
MyLocalTON is a cross-platform local TON Blockchain. It comes as a standalone application in form of a .jar file.
It can be used to ease testing and inspecting the state of the blockchain, without the need to use and deploy on
the testnet.
To setup MyLocalTON:
- Make sure of OpenJDK17 Installation, If you already have it, skip this step.
In case of need, these are some guides on installing OpenJDK:
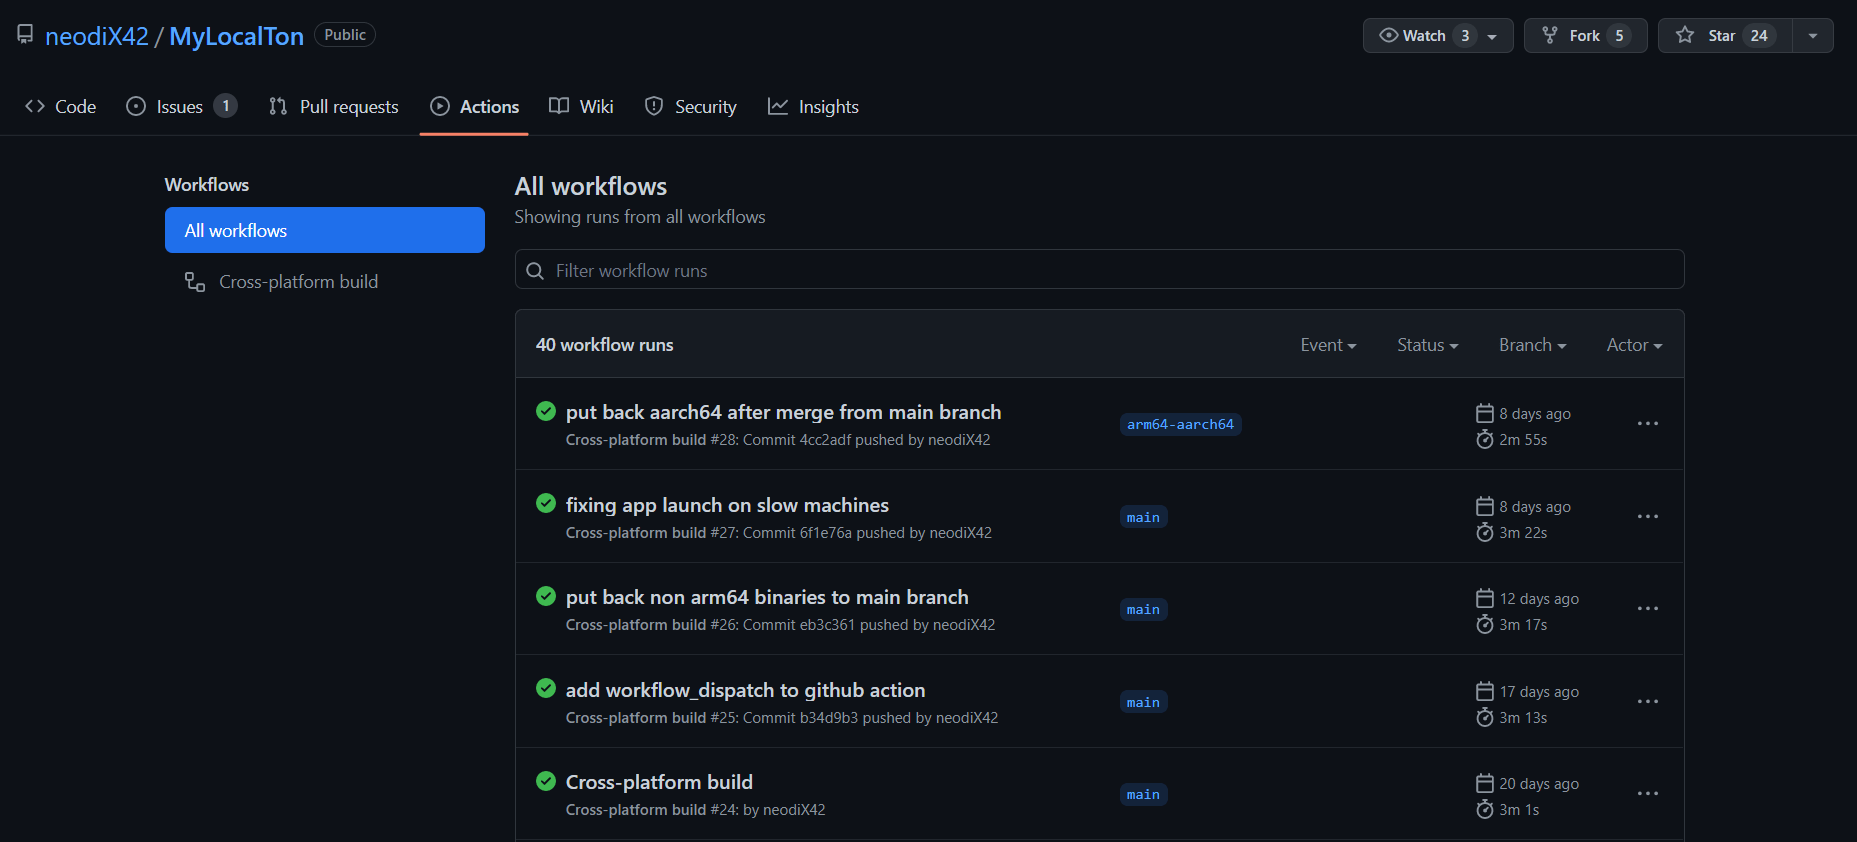
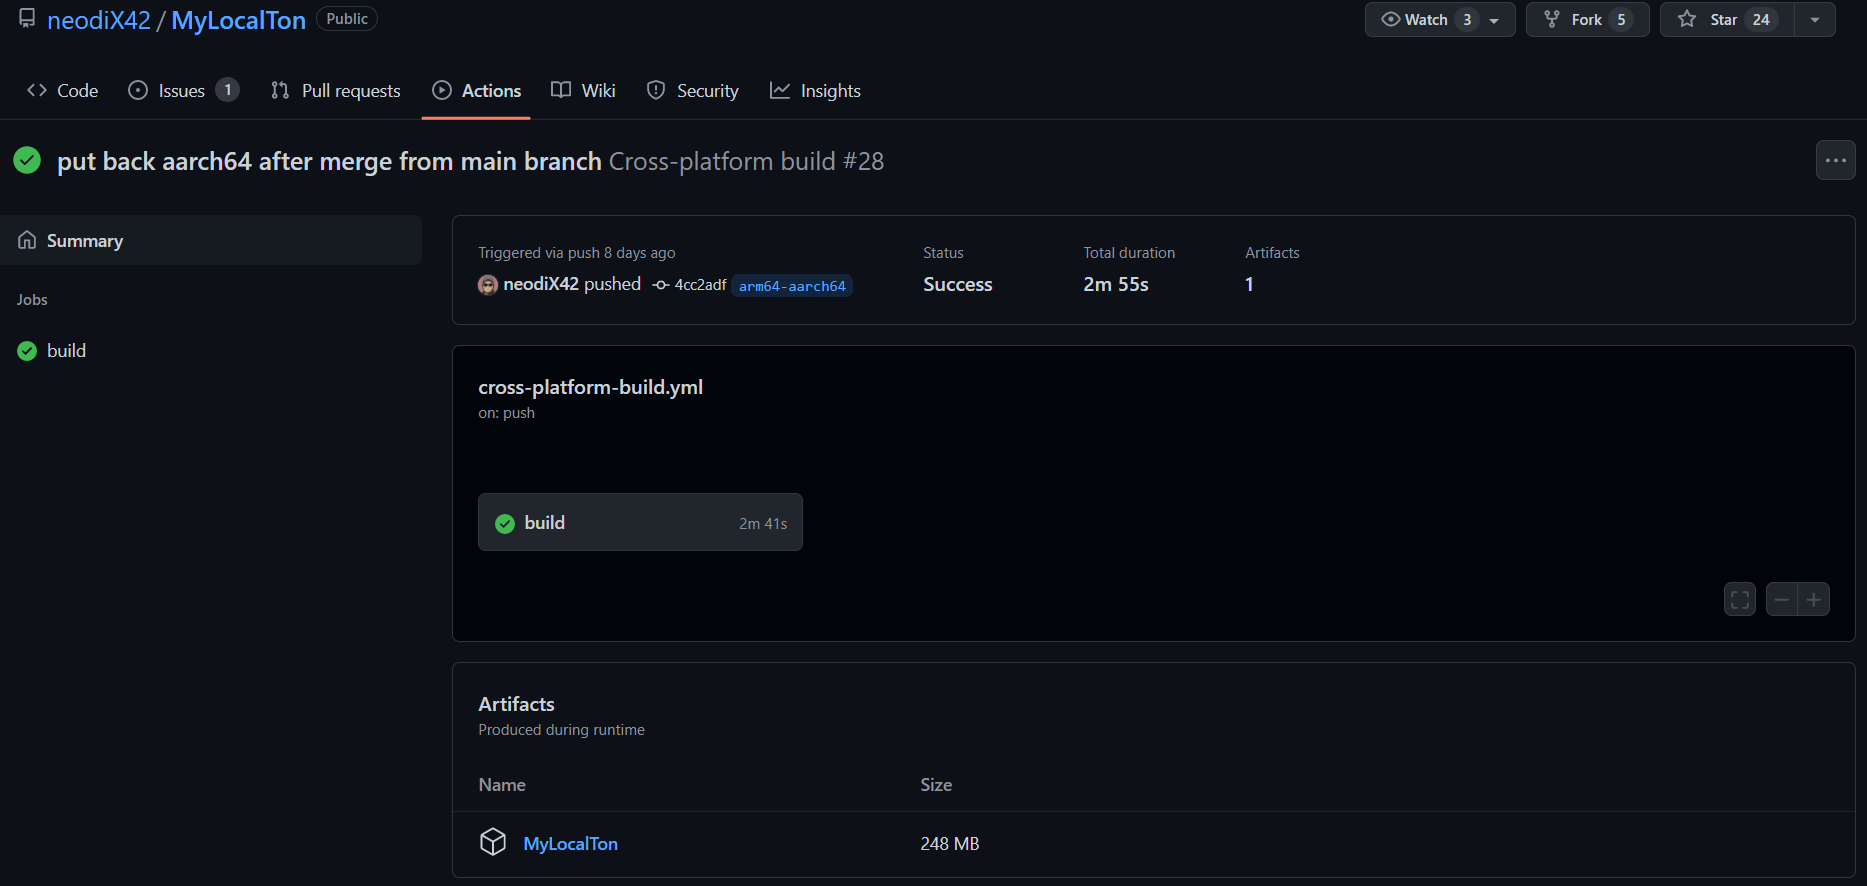
- Proceed to Auto Builds of
MyLocalTON, Open the latest successful build and downloadMyLocalTonfrom the generated artifacts.
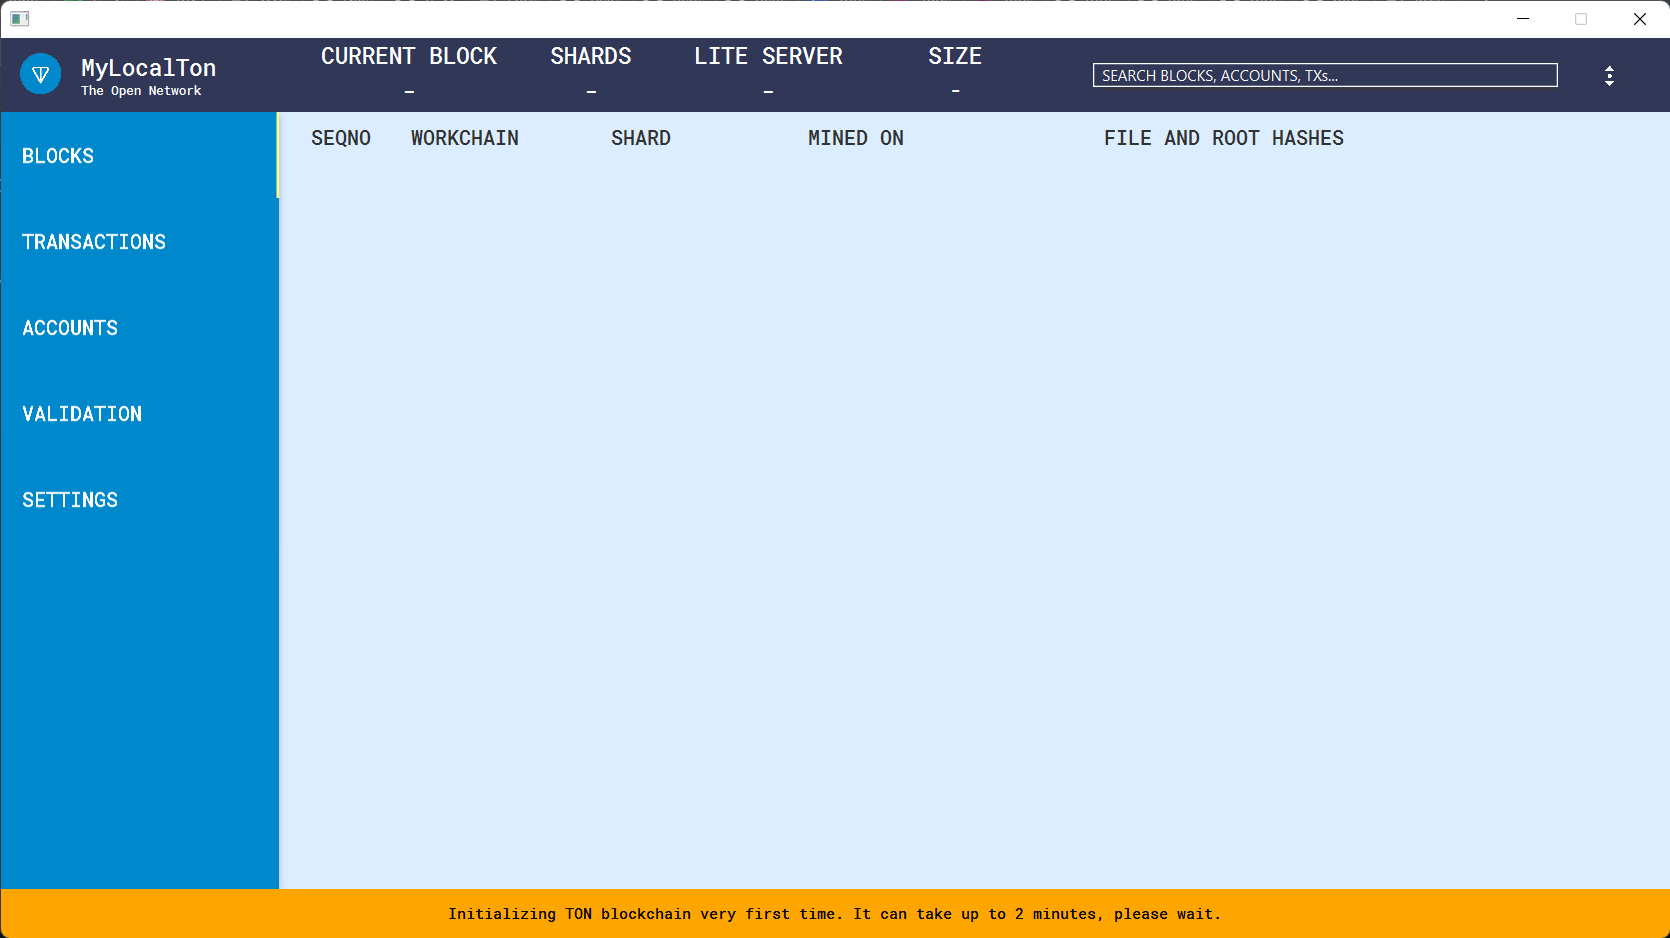
- Extract the downloaded file and execute it with java:
java -jar MyLocalTon.jar
- You'll see the following screen,It will take some time to initialize TON Blockchain:
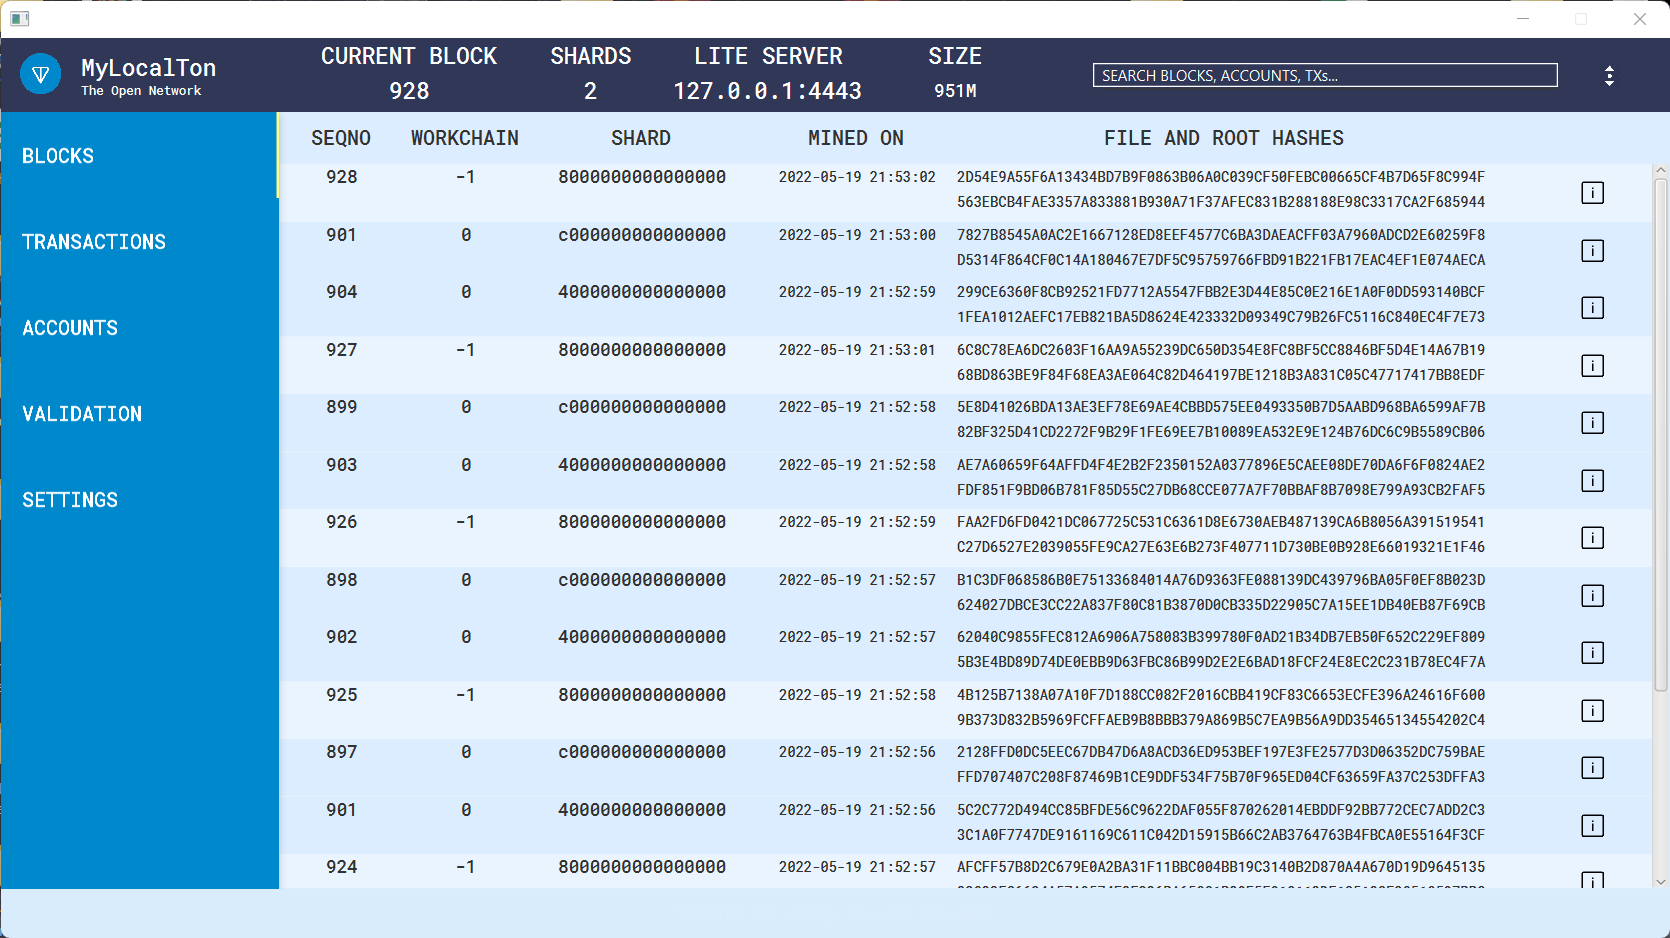
- After successful initialization, the blockchain will be ready:
Related Posts
Essential Libraries and Tools for Python on TON